


CFB
14th in ACC
Stanford Cardinal
👤 Coach: Tavita Pritchard
Next Matchup
📺 CW
STAN
1-1
 DUKE
DUKE
Franchise & Season Facts
League & Division
College Football
14th in ACC
Overall Record
1-1
Home: — | Away: —
Leadership
Tavita Pritchard
Head Coach
Latest Stanford Cardinal News
- No. 1 Stanford Blanks Santa Clara - Stanford Cardinal Google News · Stanford Cardinal ·
- New Stanford grad students pass first test as football fans - Palo Alto Online Google News · Palo Alto Online ·
- Building on 2025: Can Stanford punter Aidan Flintoft break out in 2026? - On3 Google News · On3 ·
- Cardinal Suffers First Loss - Stanford Cardinal Google News · Stanford Cardinal ·
Roster Snapshot
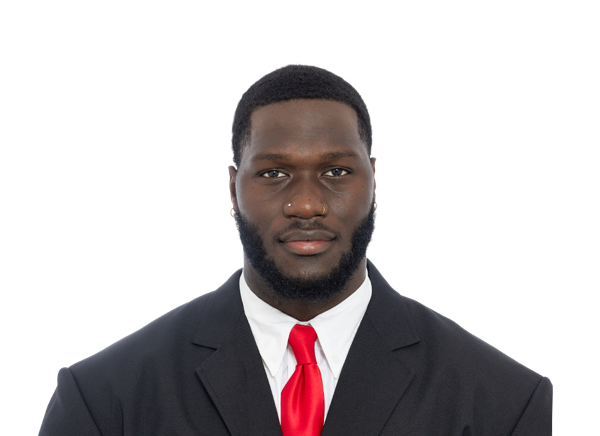
#72 Dara Adeyemi
OL · 3 yrs
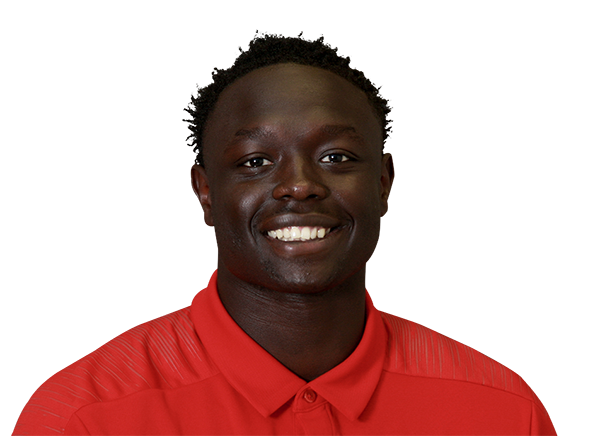
#6 Tuna Altahir
RB · 4 yrs
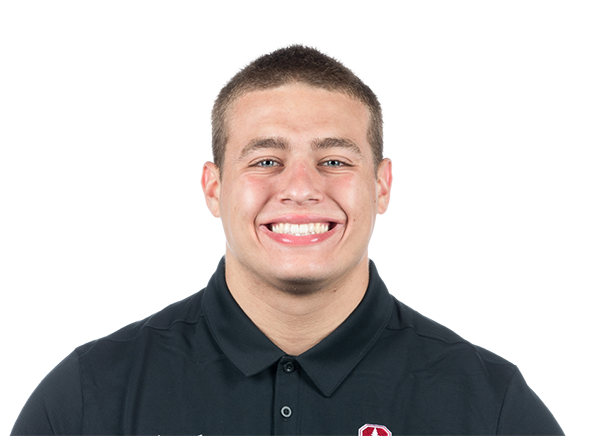
#55 Joe Asiain
DL · 2 yrs

#96 Connor Bachhuber
DL · 2 yrs
Full Season Schedule & Results
12 Games| Date | Opponent | Result / Status |
|---|---|---|
|
Week 1
|
vs
 HAW
Hawai'i Rainbow Warriors
HAW
Hawai'i Rainbow Warriors
📺 ACC Network
|
W 37 - 27 |
|
Week 1
|
vs
 #7MIA
Miami Hurricanes
#7MIA
Miami Hurricanes
📺 ESPN
|
L 6 - 45 |
|
Week 3
|
@
DUKE
Duke Blue Devils
📺 CW
|
Scheduled |
|
Week 4
|
vs
 GT
Georgia Tech Yellow Jackets
GT
Georgia Tech Yellow Jackets
📺 ESPN
|
Scheduled |
|
Week 5
|
@
 WAKE
Wake Forest Demon Deacons
WAKE
Wake Forest Demon Deacons
|
10/3 - TBD |
|
Week 6
|
@
 #3ND
Notre Dame Fighting Irish
#3ND
Notre Dame Fighting Irish
📺 NBC
|
Scheduled |
|
Week 7
|
vs
 ELON
Elon Phoenix
ELON
Elon Phoenix
📺 ACCNX
|
Scheduled |
|
Week 8
|
vs
 NCSU
NC State Wolfpack
NCSU
NC State Wolfpack
📺 ESPN
|
Scheduled |
|
Week 9
|
@
 #23LOU
Louisville Cardinals
#23LOU
Louisville Cardinals
|
10/31 - TBD |
|
Week 11
|
@
 VT
Virginia Tech Hokies
VT
Virginia Tech Hokies
|
11/14 - TBD |
|
Week 12
|
@
 CAL
California Golden Bears
CAL
California Golden Bears
|
11/21 - TBD |
|
Week 13
|
vs
 #16SMU
SMU Mustangs
#16SMU
SMU Mustangs
|
11/28 - TBD |
Stanford Cardinal Roster & Depth Chart
Head Coach: Tavita PritchardOffense (45)
| Player | Pos |
|---|---|
|
Dara Adeyemi
#72
6' 8", 300 lbs
· 3 yrs
· Stanford
|
OL |
|
Tuna Altahir
#6
6' 0", 230 lbs
· 4 yrs
· Stanford
|
RB |
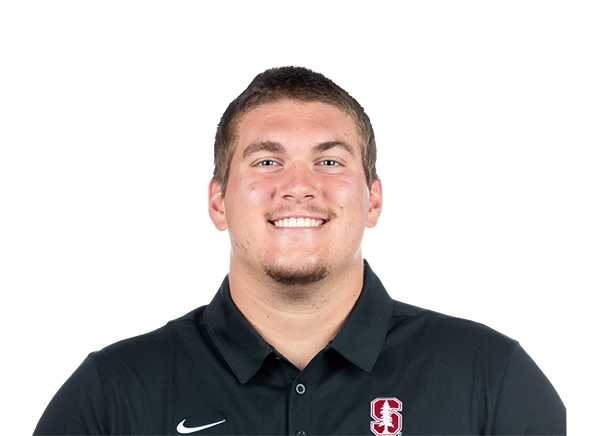
Fisher Anderson
#74
6' 7", 315 lbs
· 4 yrs
· Stanford
|
OL |

Cash Ballard
#50
6' 1", 280 lbs
· 1 yrs
· Stanford
|
OL |
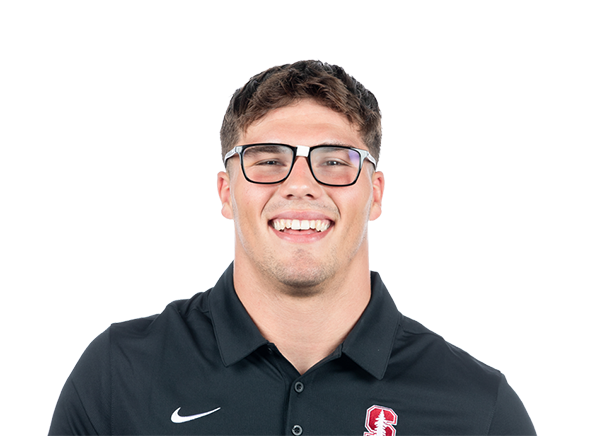
Aiden Black
#87
6' 4", 240 lbs
· 2 yrs
· Stanford
|
TE |

Benji Blackburn
#88
6' 6", 260 lbs
· 3 yrs
· Stanford
|
TE |

Marcus Brown
#3
5' 10", 170 lbs
· 2 yrs
· Stanford
|
WR |
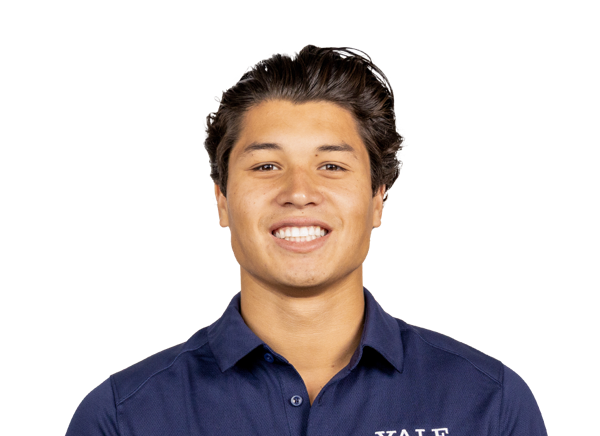
Nico Brown
#23
6' 0", 185 lbs
· 3 yrs
· Stanford
|
WR |

Ziron Brown
#51
6' 3", 310 lbs
· 2 yrs
· Stanford
|
OL |
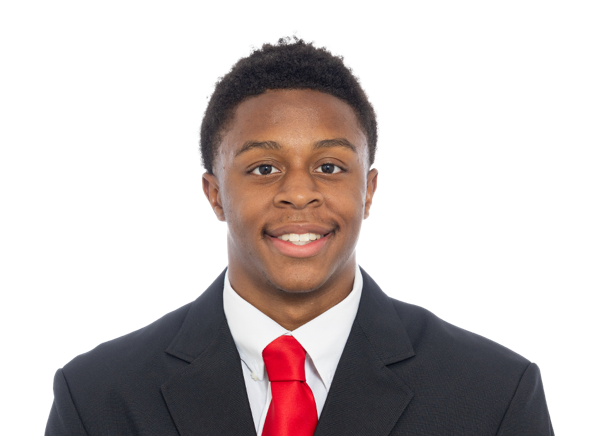
Jacob Butler
#80
5' 9", 170 lbs
· 1 yrs
· Stanford
|
WR |

Carson Caplan
#63
6' 3", 305 lbs
· 2 yrs
· Stanford
|
OL |
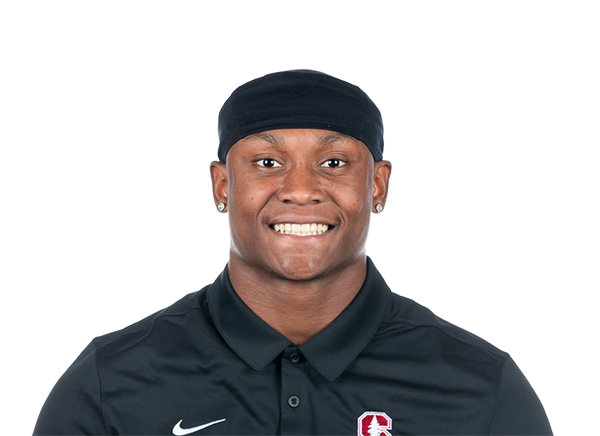
Chris Davis Jr.
#5
5' 10", 195 lbs
· 2 yrs
· Stanford
|
RB |
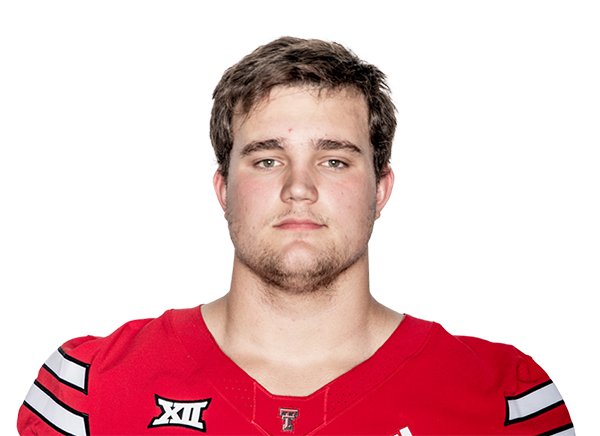
Nick Fattig
#60
6' 4", 300 lbs
· 3 yrs
· Stanford
|
OL |
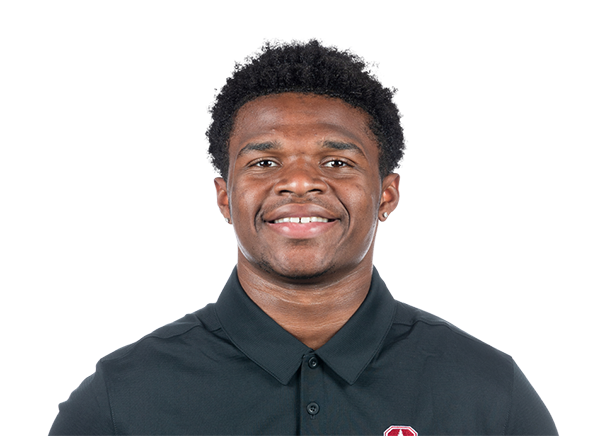
Micah Ford
#20
6' 0", 220 lbs
· 3 yrs
· Stanford
|
RB |
|
85
Zach Giuliano
#85
6' 6", 245 lbs
· 1 yrs
· Stanford
|
TE |

Kai Greer
#79
6' 6", 295 lbs
· 2 yrs
· Stanford
|
OL |
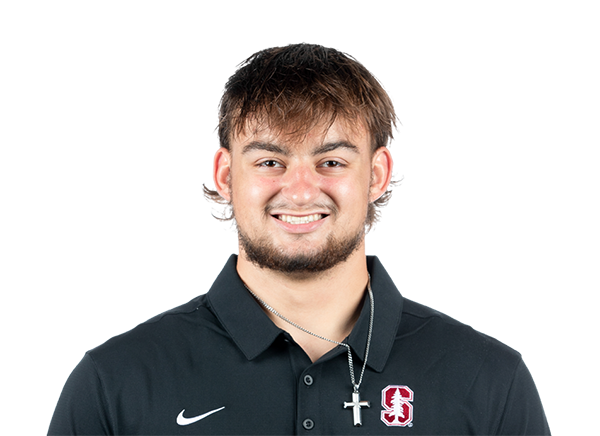
Hayden Gunter
#56
6' 7", 300 lbs
· 2 yrs
· Stanford
|
OL |

JonAnthony Hall
#11
6' 1", 190 lbs
· 1 yrs
· Stanford
|
WR |
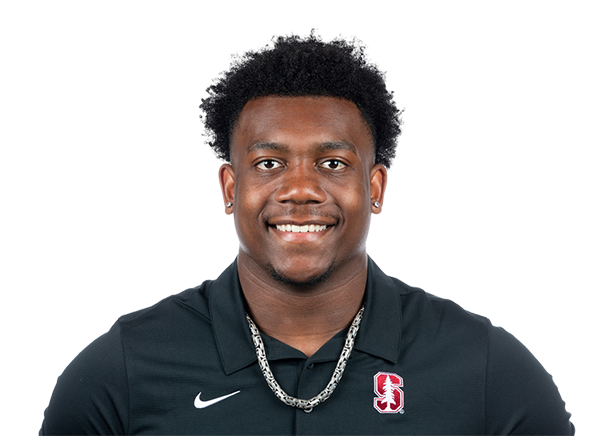
Champ Hampton
#34
5' 10", 220 lbs
· 3 yrs
· Stanford
|
RB |
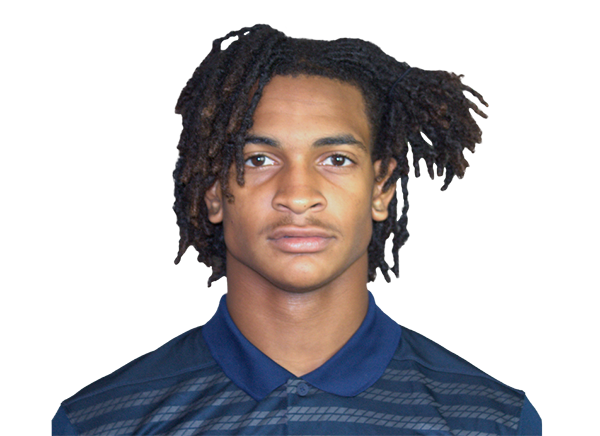
Caden High
#0
5' 10", 165 lbs
· 4 yrs
· Stanford
|
WR |
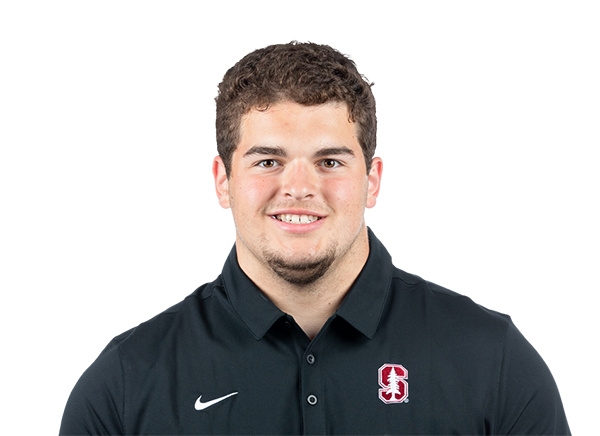
Charlie Hoitink
#59
6' 4", 300 lbs
· 2 yrs
· Stanford
|
OL |

Chico Holt
#84
6' 5", 255 lbs
· 3 yrs
· Stanford
|
TE |

Langdon Horace
#18
5' 11", 180 lbs
· 1 yrs
· Stanford
|
WR |

Kahlil House
#58
6' 5", 305 lbs
· 3 yrs
· Stanford
|
OL |
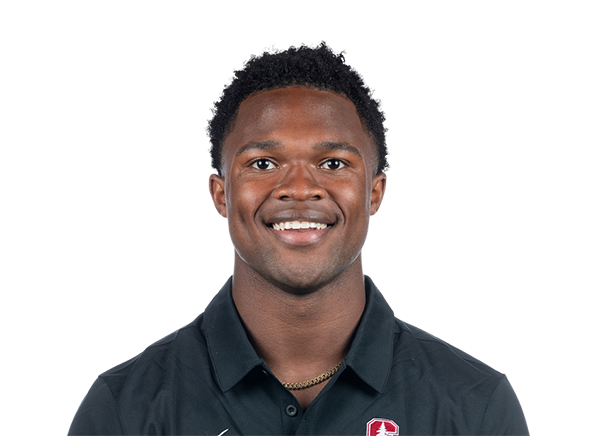
Sedrick Irvin
#26
5' 10", 205 lbs
· 4 yrs
· Stanford
|
RB |
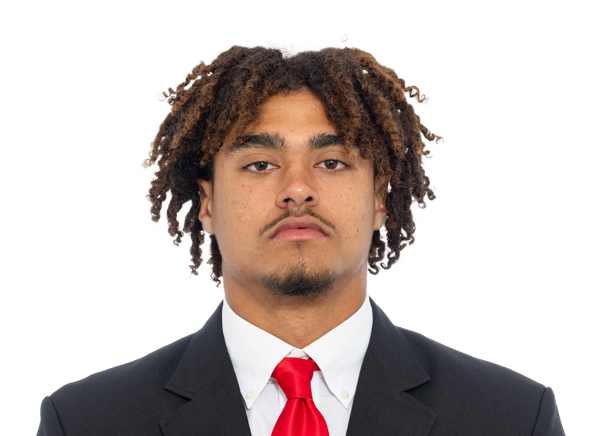
Atticus Joseph
#89
6' 0", 170 lbs
· 1 yrs
· Stanford
|
WR |
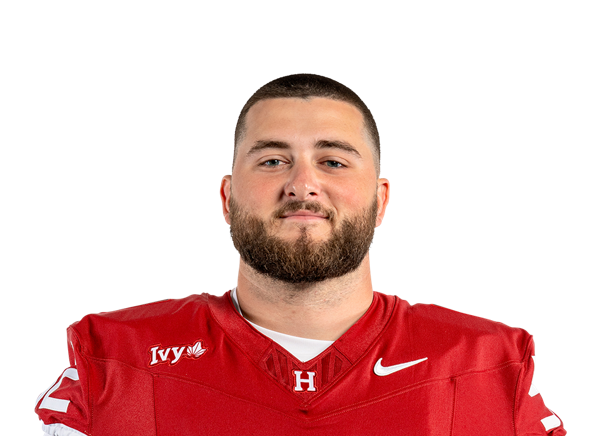
Aidan Kilstrom
#52
6' 3", 300 lbs
· 4 yrs
· Stanford
|
OL |

Tyler Kuo
#82
6' 3", 205 lbs
· 3 yrs
· Stanford
|
WR |
|
25
Luke Levitt
#25
6' 2", 200 lbs
· 2 yrs
· Stanford
|
QB |
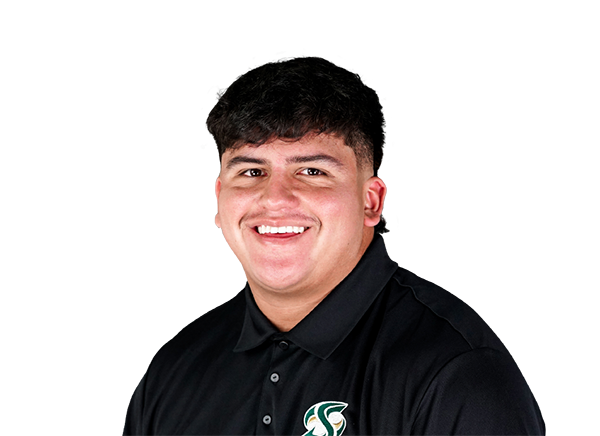
Nathan Mejia
#53
6' 3", 305 lbs
· 4 yrs
· Stanford
|
OL |

Devin Mignery
#27
5' 10", 215 lbs
· 1 yrs
· Stanford
|
QB |
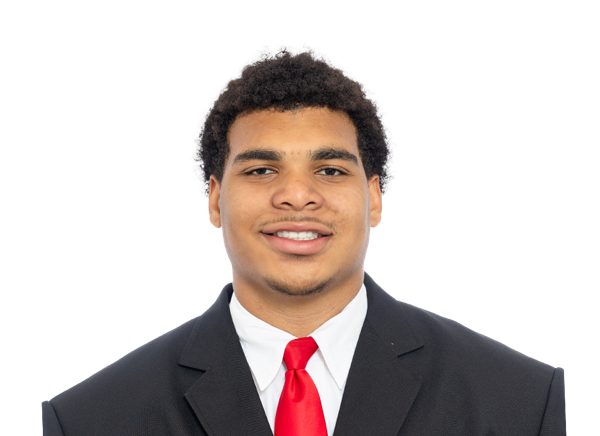
Jay Miller
#65
6' 4", 320 lbs
· 1 yrs
· Stanford
|
OL |

Charlie Mirer
#17
6' 6", 235 lbs
· 4 yrs
· Stanford
|
QB |
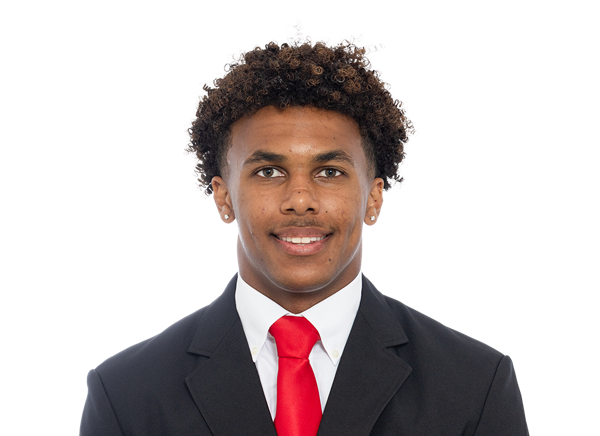
Michael Mitchell Jr.
#9
5' 11", 185 lbs
· 1 yrs
· Stanford
|
QB |
|
81
Marcus Monroe
#81
6' 3", 220 lbs
· 1 yrs
· Stanford
|
TE |
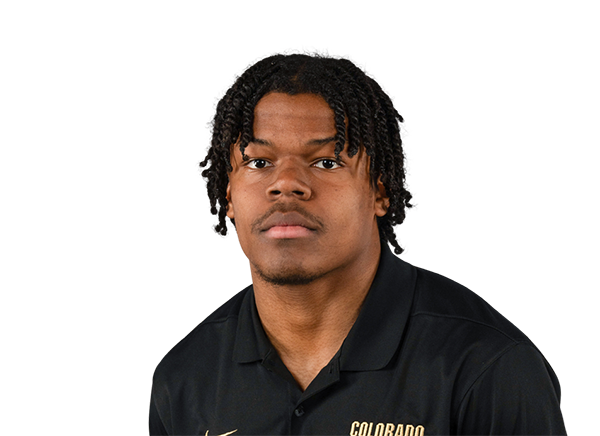
Jordan Onovughe
#4
6' 2", 210 lbs
· 3 yrs
· Stanford
|
WR |
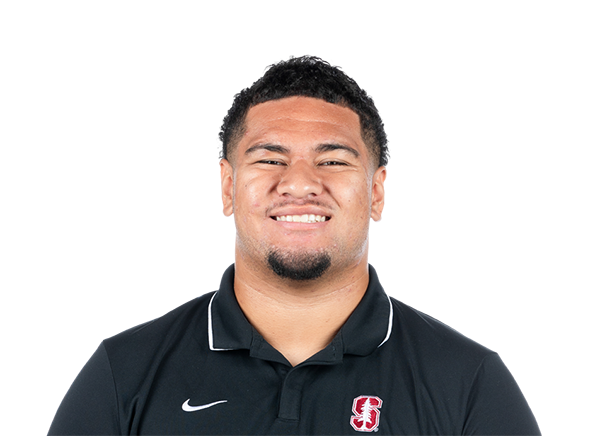
Simione Pale
#55
6' 4", 320 lbs
· 3 yrs
· Stanford
|
OL |

David Pantelis
#19
5' 11", 200 lbs
· 4 yrs
· Stanford
|
WR |
|
14
Dre Pollard
#14
6' 1", 180 lbs
· 1 yrs
· Stanford
|
WR |
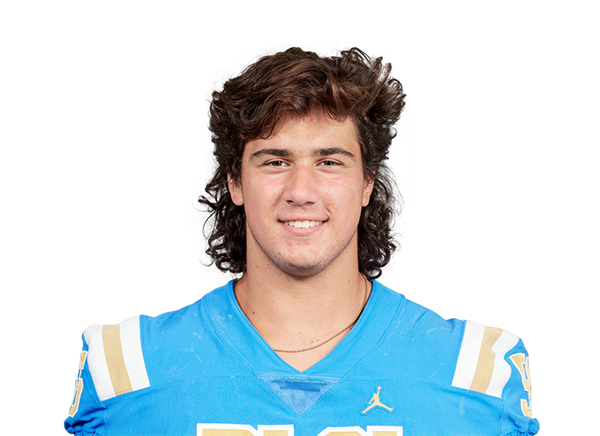
Niki Prongos
#66
6' 7", 315 lbs
· 4 yrs
· Stanford
|
OL |
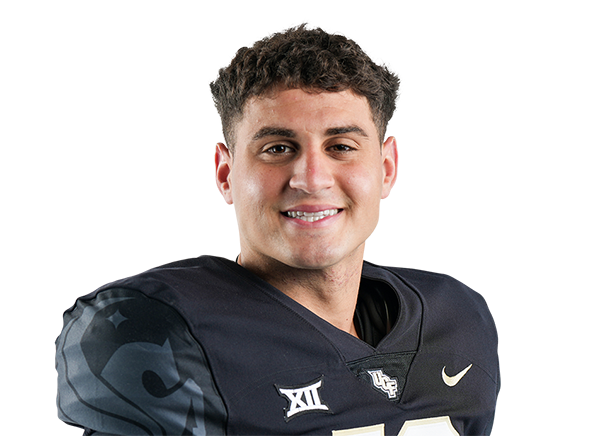
Dylan Rizk
#10
6' 2", 225 lbs
· 3 yrs
· Stanford
|
QB |
|
2
Zion Robinson
#2
6' 2", 180 lbs
· 1 yrs
· Stanford
|
WR |
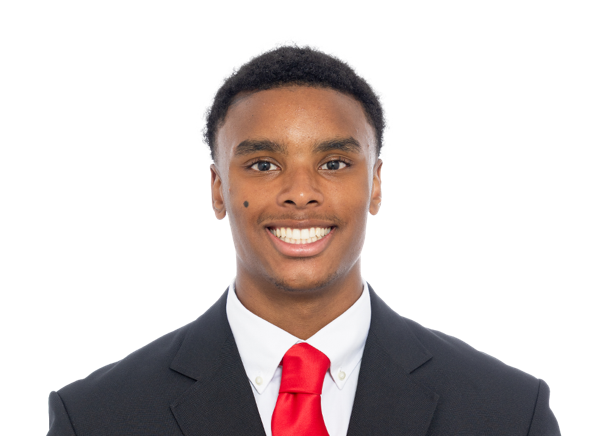
Daylen Sharper
#22
6' 2", 210 lbs
· 1 yrs
· Stanford
|
WR |

Carter Shaw
#15
6' 3", 195 lbs
· 3 yrs
· Stanford
|
WR |
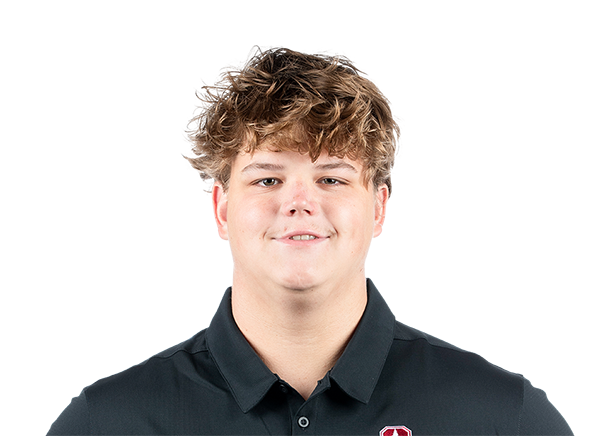
Charlie Symonds
#73
6' 8", 310 lbs
· 3 yrs
· Stanford
|
OL |
Defense (49)
| Player | Pos |
|---|---|
|
Joe Asiain
#55
6' 3", 275 lbs
· 2 yrs
· Stanford
|
DL |
|
Connor Bachhuber
#96
6' 5", 275 lbs
· 2 yrs
· Stanford
|
DL |

Kole Briehler
#57
6' 2", 280 lbs
· 1 yrs
· Stanford
|
DT |
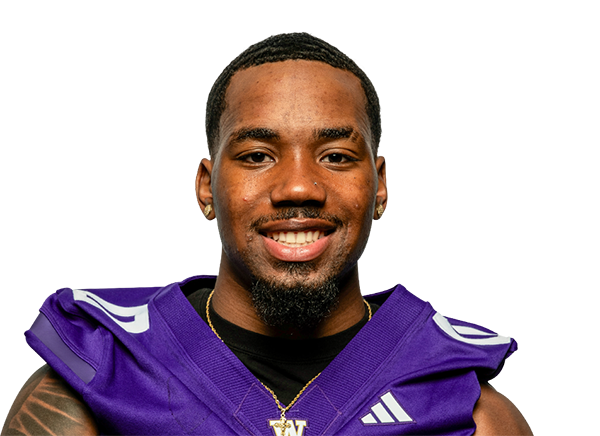
Leroy Bryant
#4
6' 0", 185 lbs
· 3 yrs
· Stanford
|
CB |

Chase Cahoon
#32
6' 0", 215 lbs
· 1 yrs
· Stanford
|
LB |
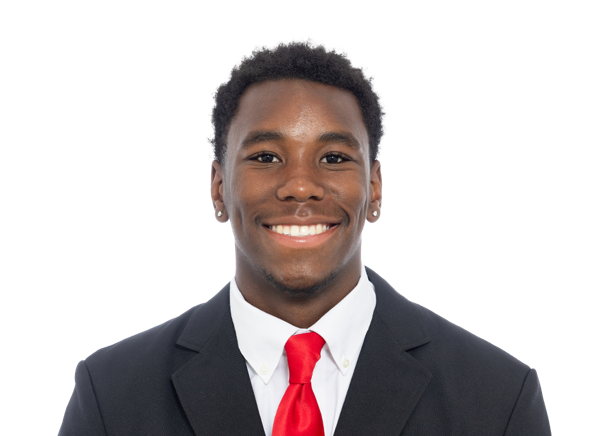
Caleb Carson
#29
5' 11", 190 lbs
· 1 yrs
· Stanford
|
DB |

Ernest Cooper
#44
6' 4", 250 lbs
· 4 yrs
· Stanford
|
LB |

Drew Cunningham
#48
6' 3", 245 lbs
· 2 yrs
· Stanford
|
LB |

Carter Davis
#46
6' 4", 225 lbs
· 1 yrs
· Stanford
|
LB |
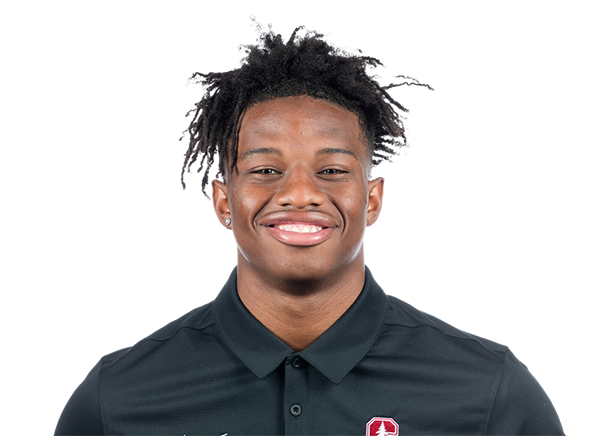
Darrius Davis
#6
6' 0", 200 lbs
· 3 yrs
· Stanford
|
S |
|
58
Brendan Delaney
#58
6' 5", 275 lbs
· 2 yrs
· Stanford
|
DL |
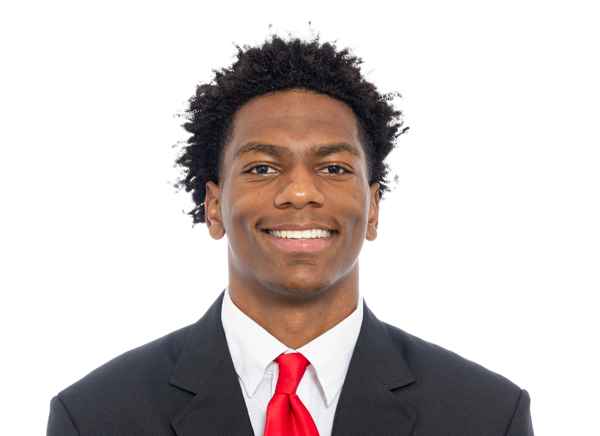
Jack Duckworth
#30
5' 10", 170 lbs
· 1 yrs
· Stanford
|
CB |

Charlie Eckhardt
#39
6' 2", 205 lbs
· 2 yrs
· Stanford
|
S |

Scotty Edwards
#21
6' 1", 205 lbs
· 4 yrs
· Stanford
|
S |
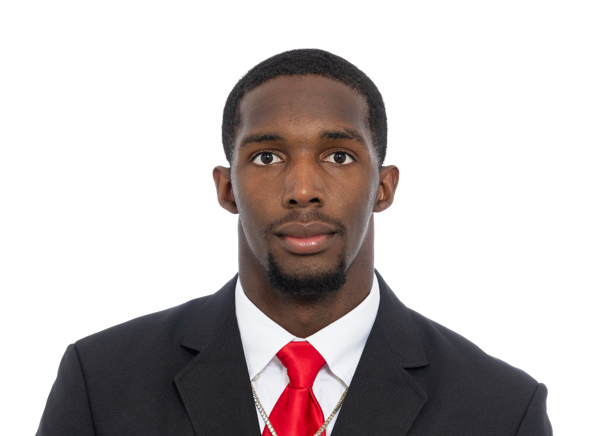
Keysaun Eleazer
#88
6' 6", 205 lbs
· 1 yrs
· Stanford
|
LB |

Omari Gaines
#17
6' 2", 200 lbs
· 1 yrs
· Stanford
|
S |
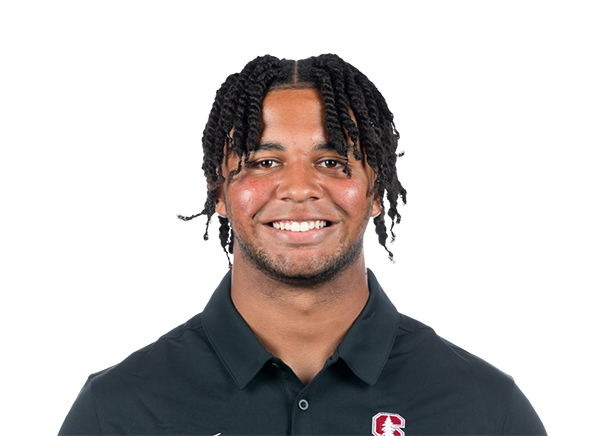
Jahsiah Galvan
#0
6' 2", 230 lbs
· 4 yrs
· Stanford
|
LB |

Chris Garland
#26
6' 0", 180 lbs
· 1 yrs
· Stanford
|
CB |
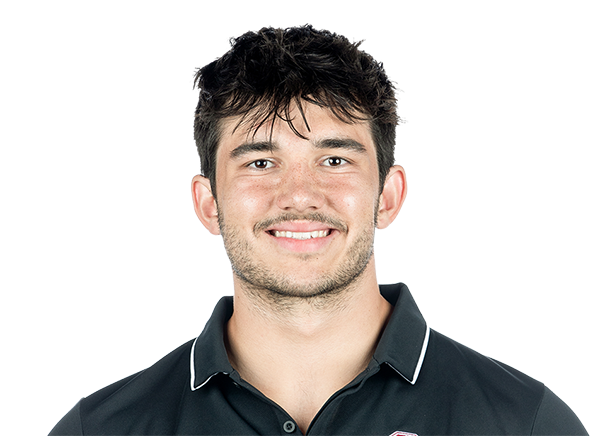
Gavin Geweniger
#90
6' 4", 240 lbs
· 3 yrs
· Stanford
|
LB |
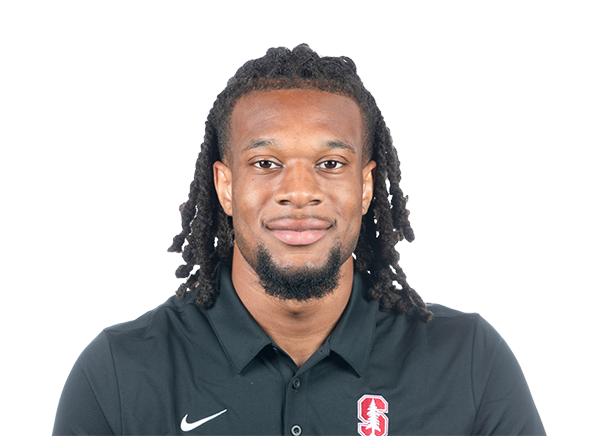
Jay Green
#5
6' 3", 215 lbs
· 4 yrs
· Stanford
|
S |
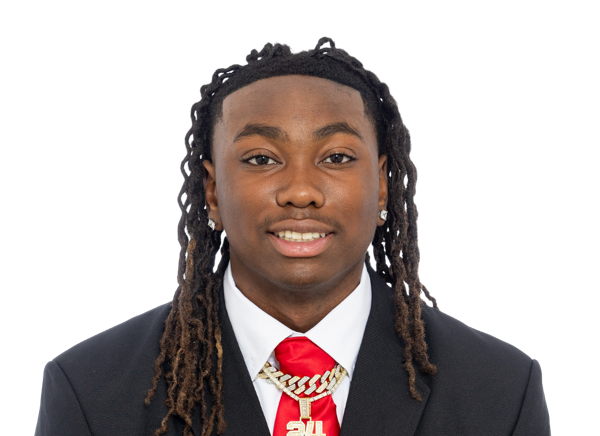
Xavier Harmon
#20
6' 0", 185 lbs
· 1 yrs
· Stanford
|
CB |

Jason Hill Jr.
#18
5' 11", 160 lbs
· 1 yrs
· Stanford
|
CB |
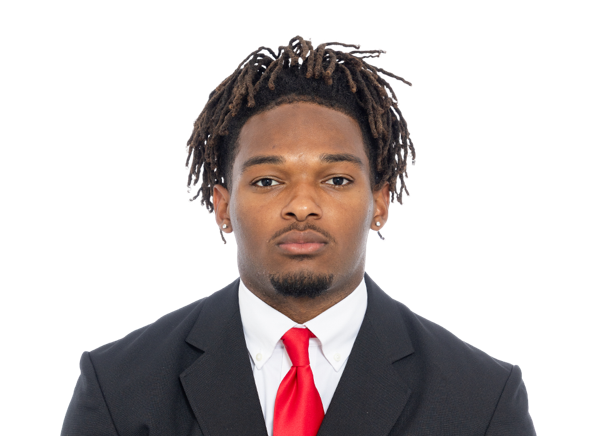
Sarrel Howard
#52
6' 1", 230 lbs
· 1 yrs
· Stanford
|
LB |
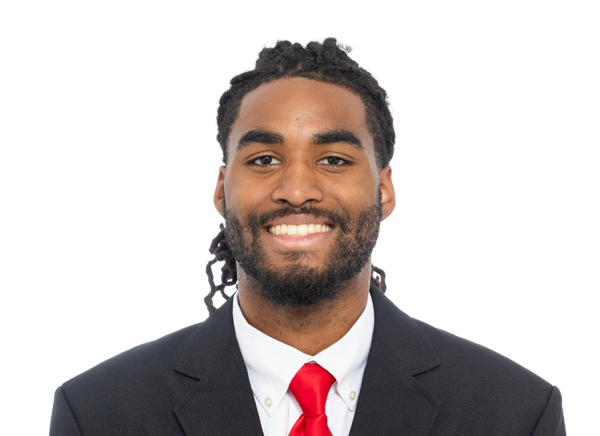
Lasiah Jackson
#33
6' 3", 175 lbs
· 1 yrs
· Stanford
|
DB |

Preston Jernegan
#54
6' 2", 230 lbs
· 2 yrs
· Stanford
|
LB |

Zach Johnson
#38
6' 3", 230 lbs
· 3 yrs
· Stanford
|
LB |

Gabe Kaminski
#49
6' 3", 235 lbs
· 1 yrs
· Stanford
|
LB |
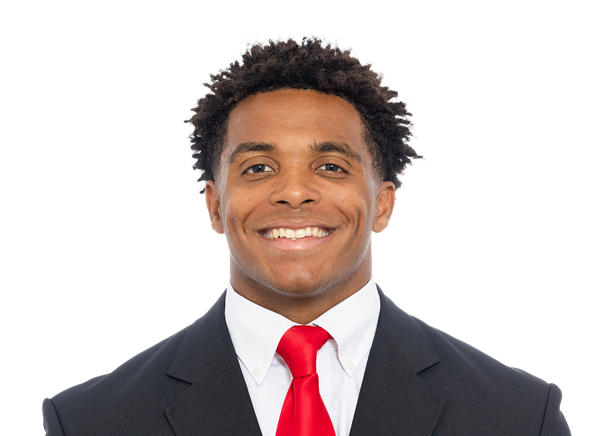
Wassie Lugolobi
#23
6' 1", 225 lbs
· 1 yrs
· Stanford
|
LB |
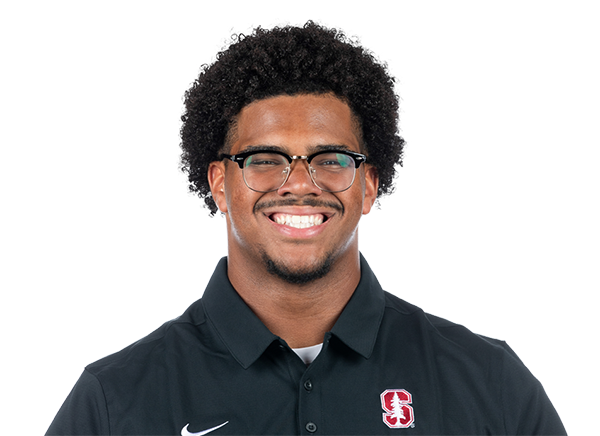
Braden Marceau-Olayinka
#75
6' 3", 300 lbs
· 3 yrs
· Stanford
|
DL |
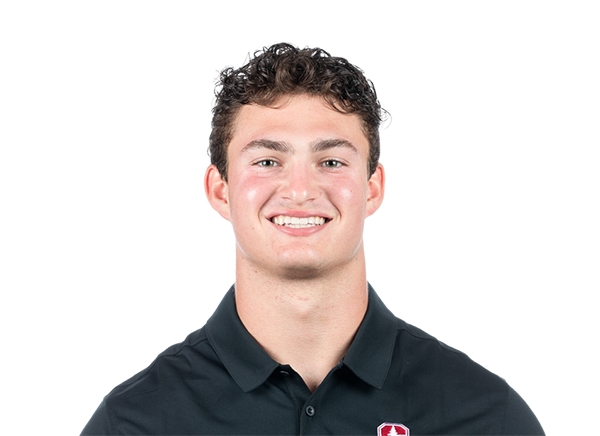
Sam Mattingly
#10
6' 2", 235 lbs
· 3 yrs
· Stanford
|
LB |

Lonnie McAllister III
#24
5' 11", 180 lbs
· 2 yrs
· Stanford
|
DB |

Landon McComber
#43
6' 2", 235 lbs
· 1 yrs
· Stanford
|
LB |

Zaiden McDonald
#22
6' 2", 195 lbs
· 1 yrs
· Stanford
|
DB |

Max Meier
#98
6' 4", 255 lbs
· 1 yrs
· Stanford
|
DL |
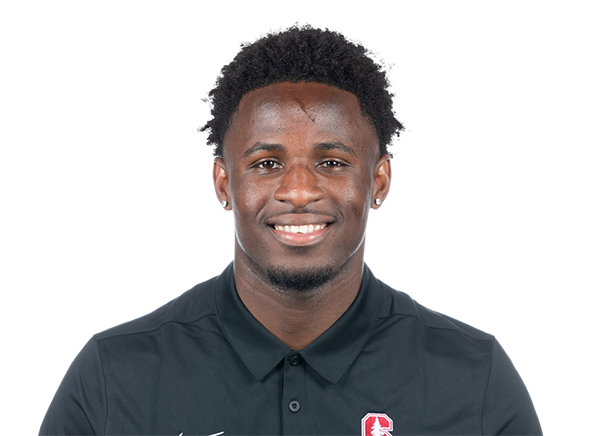
Aaron Morris
#31
5' 11", 195 lbs
· 3 yrs
· Stanford
|
CB |
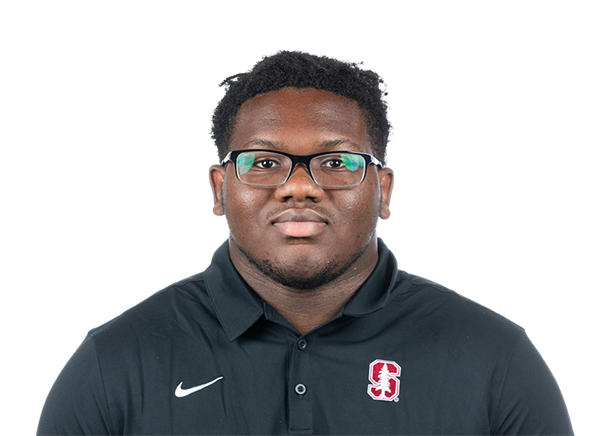
Jacobi Murray
#42
6' 1", 315 lbs
· 2 yrs
· Stanford
|
DL |
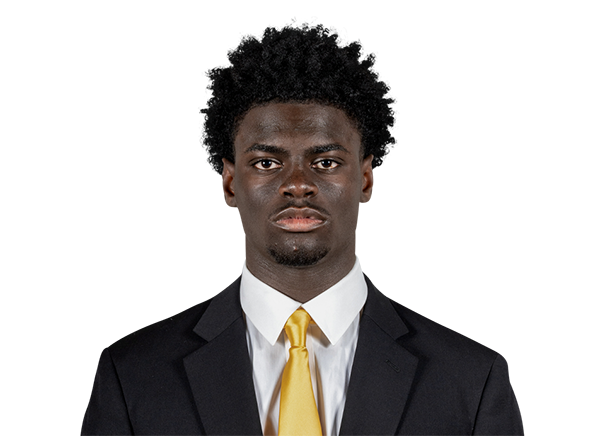
Sam Neely III
#28
5' 11", 185 lbs
· 2 yrs
· Stanford
|
CB |
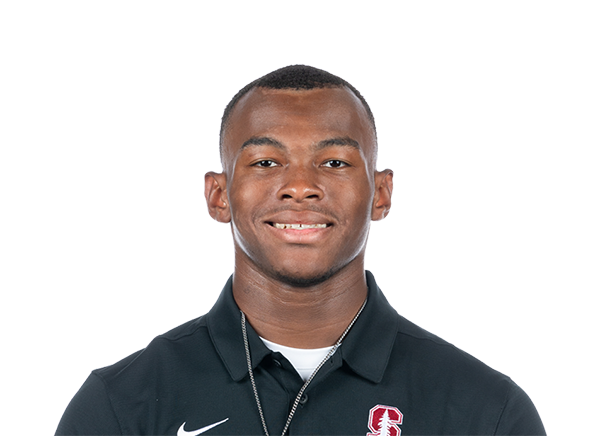
Brandon Nicholson
#9
6' 0", 190 lbs
· 3 yrs
· Stanford
|
CB |
|
94
Daniel Ogiozee
#94
6' 3", 250 lbs
· 1 yrs
· Stanford
|
DL |
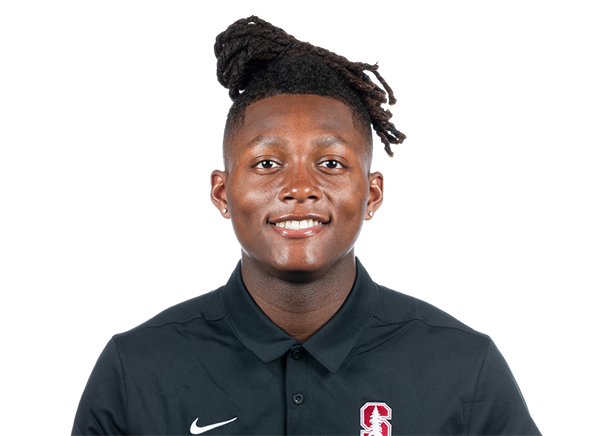
Javion Randall
#34
5' 11", 190 lbs
· 2 yrs
· Stanford
|
CB |
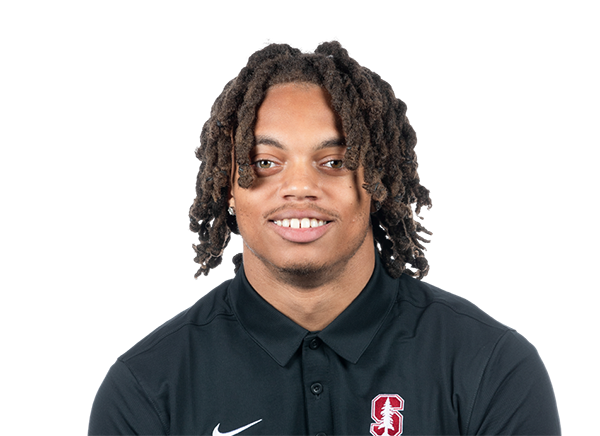
Cam Richardson
#8
6' 2", 190 lbs
· 3 yrs
· Stanford
|
CB |
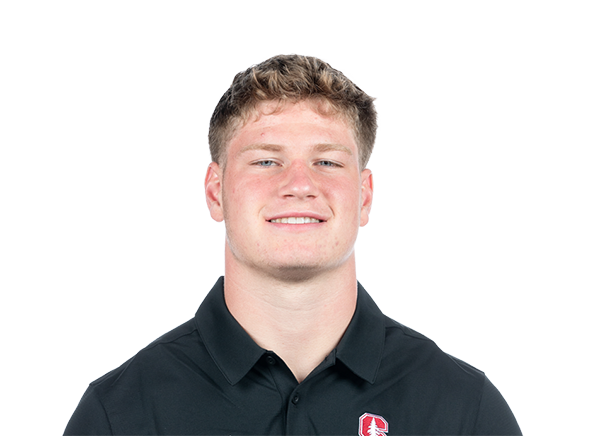
Matt Rose
#35
6' 2", 230 lbs
· 4 yrs
· Stanford
|
LB |

Zach Rowell
#97
6' 3", 285 lbs
· 4 yrs
· Stanford
|
DL |

Lucas Shanafelt
#41
6' 3", 235 lbs
· 1 yrs
· Stanford
|
LB |

Adam Shovlin
#95
6' 4", 270 lbs
· 1 yrs
· Stanford
|
DE |
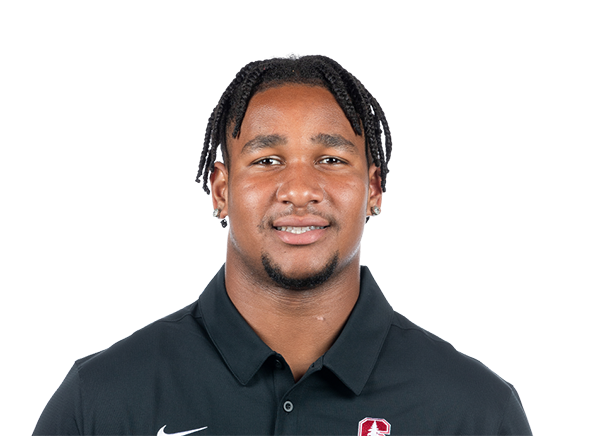
Omar Staples
#45
6' 3", 270 lbs
· 3 yrs
· Stanford
|
DL |
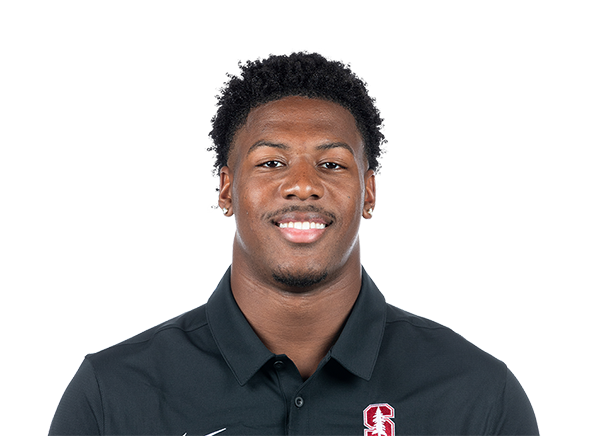
Dylan Stephenson
#2
6' 4", 235 lbs
· 2 yrs
· Stanford
|
LB |
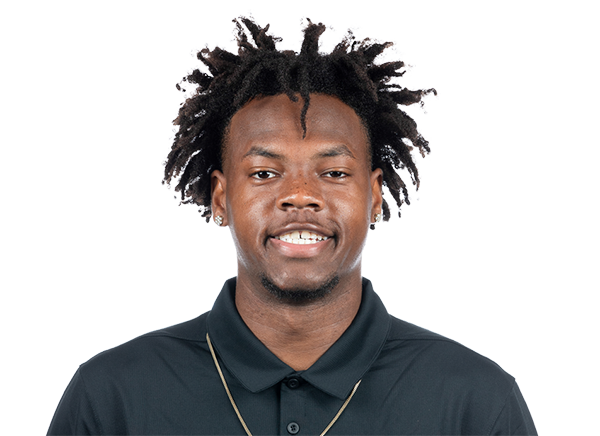
Jaylen'Dai Sumlin
#3
6' 2", 200 lbs
· 2 yrs
· Stanford
|
S |
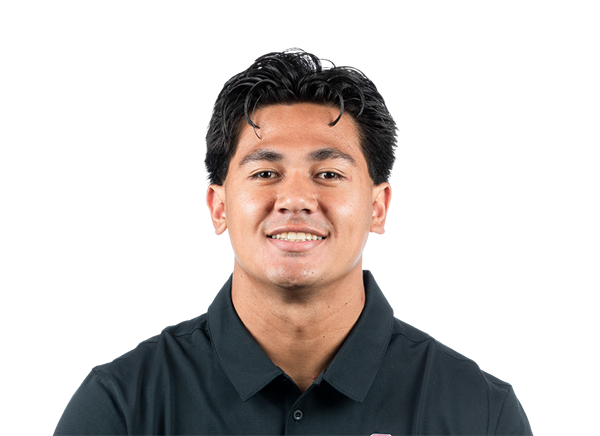
Tevarua Tafiti
#11
6' 2", 240 lbs
· 4 yrs
· Stanford
|
LB |
Special Teams (6)
| Player | Pos |
|---|---|

London Bironas
#19
5' 10", 205 lbs
· 1 yrs
· Stanford
|
PK |
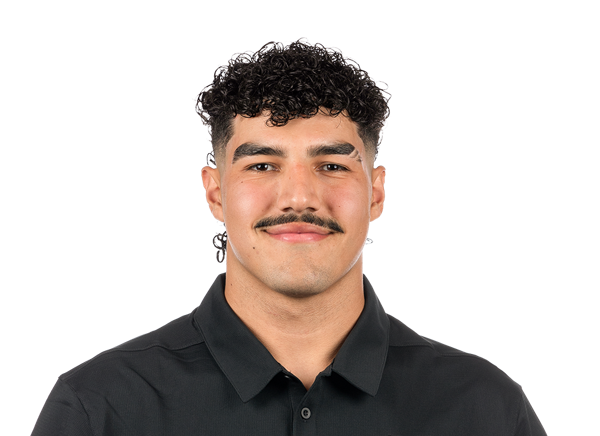
Alejandro Chavez
#47
6' 2", 225 lbs
· 4 yrs
· Stanford
|
LS |

Aidan Flintoft
#37
6' 2", 210 lbs
· 4 yrs
· Stanford
|
P |

Emmet Kenney
#13
6' 3", 220 lbs
· 4 yrs
· Stanford
|
PK |

AJ Seidler
#92
6' 1", 225 lbs
· 2 yrs
· Stanford
|
PK |

Hamilton Sharpe
#46
6' 0", 215 lbs
· 1 yrs
· Stanford
|
LS |
Stanford Cardinal Statistics & League Rankings
Official ESPN statistical splitPassing
Completion Percentage
57.9
Completions
44
Interception Percentage
0.00
Interceptions
0
Longest Pass
57
Net Passing Yards
531
Net Passing Yards Per Game
265.5
Passing Attempts
76
Passing Touchdown %
1.30
Passing Touchdowns
1
Passer Rating
121.0
Total Sacks
2
Sack Yards Lost
20
Yards Per Pass Attempt
7.0
Passing Yards
531
Passing Fumbles Lost
0
Team Games Played
2
Yards Per Game
383.5
Total Points Per Game
21.5
Total Points
43
Total Touchdowns
5
Passing Yards Per Game
265.5
Comp-Att
44-76
Sacks-Yards Lost
2-20
Rushing
Rushing Attempts
61
Rushing Yards
236
Yards Per Rush Attempt
3.9
Long Rushing
28
20+ Yard Rushing Plays
0
Rushing Touchdowns
3
Rushing Yards Per Game
118.0
Rushing Fumbles
0
Rushing Fumbles Lost
0
Rushing 1st downs
12
Team Games Played
2
Total Yards
767
Total Offensive Plays
139
Total Points Per Game
21.5
Total Points
43
Total Touchdowns
5
Receiving
Receptions
44
Receiving Targets
0
Receiving Yards
531
Receiving Yards
531
Receiving Touchdowns
1
Long Reception
57
20+ Yard Receiving Plays
0
Receiving Yards Per Game
265.5
Receiving Fumbles
0
Receiving Fumbles Lost
0
Receiving Yards After Catch
178
Receiving First Downs
23
Team Games Played
2
Yards Per Reception
12.1
Total Points Per Game
21.5
Total Points
43
Total Touchdowns
5
Miscellaneous
Total 1st downs
38
Rushing 1st downs
12
Passing 1st downs
23
1st downs by penalty
3
Third Down Conversions
12
Third Down Attempts
31
3rd down %
38.71
Fourth Down Conversions
1
First Downs Attempts
3
4th down %
33.33
Total Penalties
17
Total Penalty Yards
129
Possession Time Seconds
1740
Red Zone Field Goal Percentage
0.00
Red Zone Scoring Percentage
0.00
Red Zone Efficiency Percentage
0.00
Red Zone Touchdown Percentage
0.00
Total Takeaways
1
Total Giveaways
0
Turnover Ratio
1
3rd down efficiency
12-31
4th down efficiency
1-3
Total-Yards
17-129
Defense
Solo Tackles
73
Assist Tackles
54
Total Tackles
127
Sacks
2
Sack Yards
12
Stuffs
10
Passes Defended
0
Average Interception Yards
0.0
Long Interception
0
Miscellaneous Touchdowns
0
Kicks Blocked
1
Tackles For Loss
6
Team Games Played
2
Defensive Interceptions
Interceptions
1
Interception Yards
0
Interception Touchdowns
0
INT: Total
1-0
General
Fumbles
0
Forced Fumbles
2
Fumbles Recovered
0
Fumbles Touchdowns
1
Games Played
2
Fumbles-Lost
0-0
Returning
Kick Returns
8
Kick Return Yards
158
Yards Per Kick Return
19.8
Long Kick Return
34
Kick Return Touchdowns
0
Punt Returns
4
Punt Return Yards
8
Yards Per Punt Return
2.0
Long Punt Return
9
Punt Return Touchdowns
0
Punt Return Fair Catches
0
Kick Return Fumbles Lost
0
Punt Return Fumbles Lost
0
Team Games Played
2
Punt: Total
4-8
Kicking
Field Goal Made
2
Field Goal Attempts
3
Field Goal Percentage
66.7
Long Field Goal Made
30
Field Goal Attempts 1-19
0
Field Goal Attempts 20-29
1
Field Goal Attempts 30-39
2
Field Goal Attempts 40-49
0
Field Goal Attempts 50+
0
Extra Points Made
5
Extra Point Attempts
5
Extra Point Percentage
100.0
Field Goals Made 1-19
0
Field Goals Made 20-29
1
Field Goals Made 30-39
1
Field Goals Made 40-49
0
Field Goals Made 50+
0
Total Kicking Points
11
Team Games Played
2
Touchback Percentage
56
Average Kickoff Return Yards
0.0
Kickoff Return Yards
0
Kickoff Returns
0
Kickoffs: Total
0-0
FG: Good-Attempts
2-3
Punting
Punts
13
Punt Yards
570
Long Punt
49
Gross Average Punt Yards
43.8
Net Average Punt Yards
43.8
Punts Blocked
0
Punts Inside 20
4
Touchbacks
1
Fair Catches
8
Punt Returns
3
Punt Return Yards
0
Average Punt Return Yards
0.0
Team Games Played
2
Punt: Total Yards
13-570
Scoring
Rushing Touchdowns
3
Receiving Touchdowns
1
Return Touchdowns
0
Total Touchdowns
5
Field Goals
2
Kick Extra Points
5
Total Two Point Conversions
0
Total Points
43
Total Points Per Game
21.5